For the Ryukyu Star, a publication created by and for JET Programme participants in Okinawa, Japan, I made a cover using this issue’s theme, the rainy season.
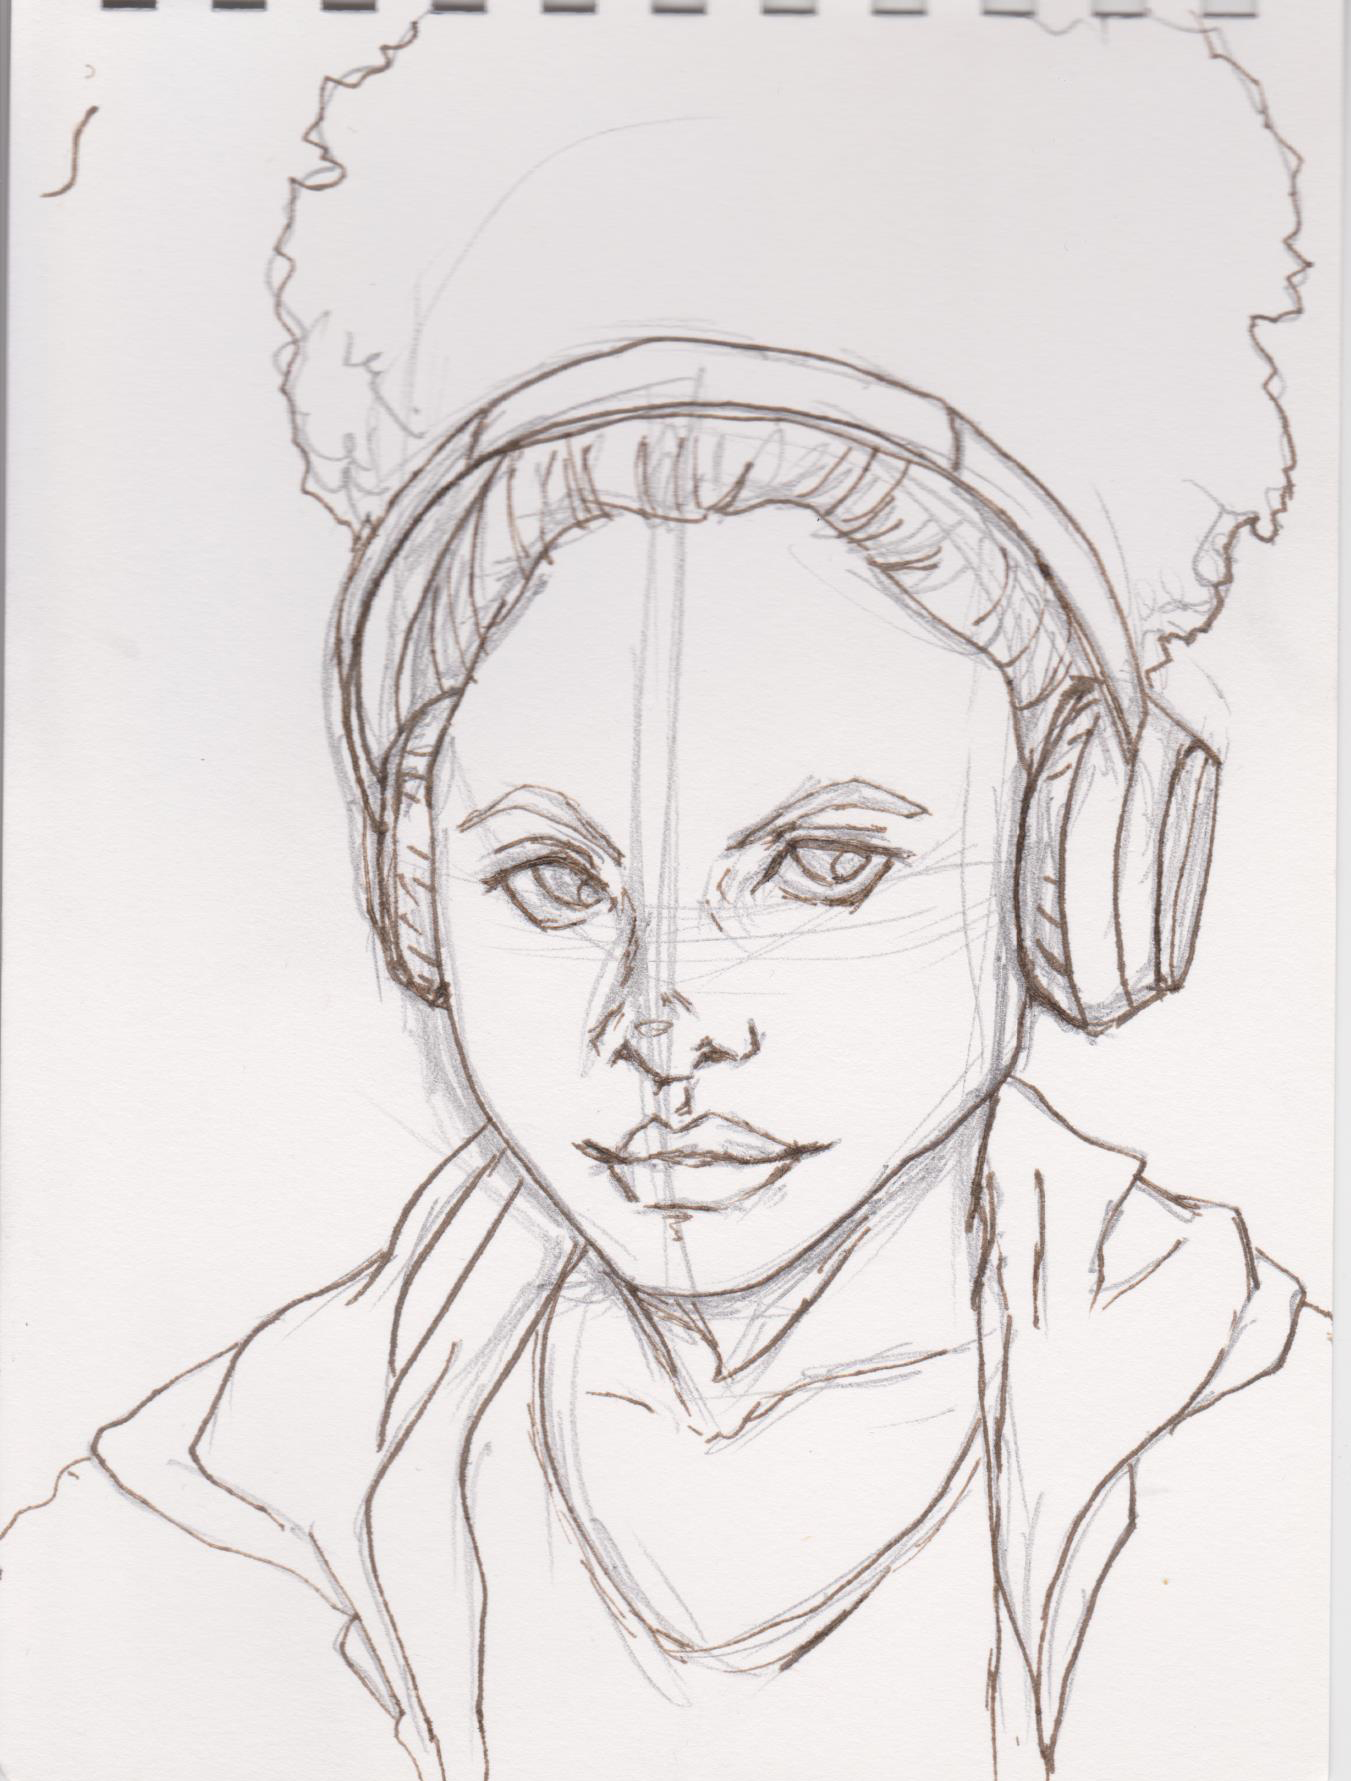
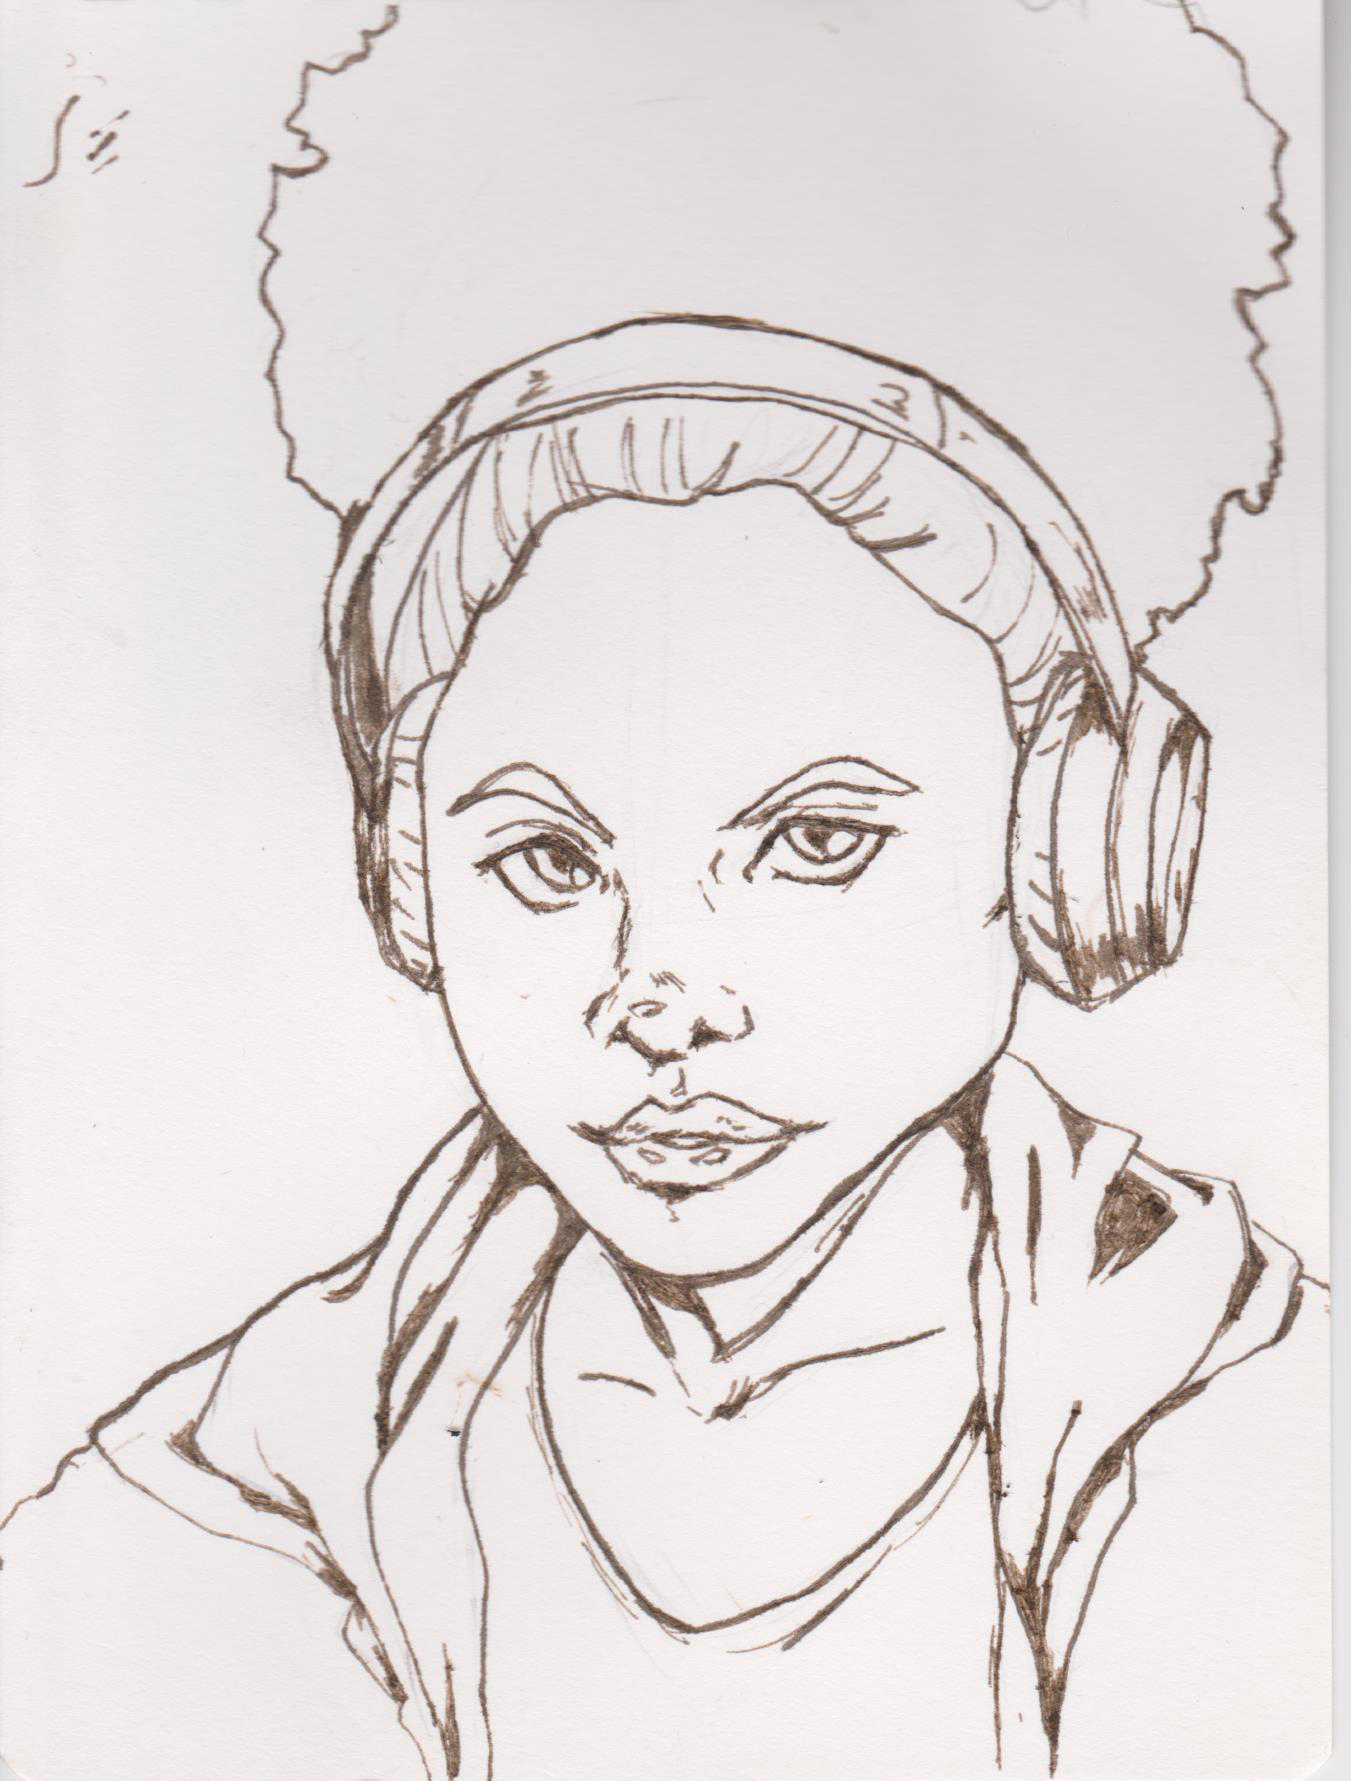
1. The penciling and inking: It took me longer to come up with the concept actually drawing it! I had to look at different pictures and paintings with rain and spring. Finally, I decided using an Arriety-style character with a larger-than-life flower instead of a typical umbrella. The inking was done within 20 minutes.
 2. Tracing and Base Colors: After I scanned the image into Illustrator, I did an image trace (Illustrator traces the image and makes it into a vector) and painted in the base colors.
 3. Photoshop: I took the image to Photoshop in two different layers. One layer was the transparent black-and-white image on top of the base-colored image. The rest of the coloring were sandwiched as layers between the top black-and-white image and the colored one so that I wouldn’t end up coloring over the lines.
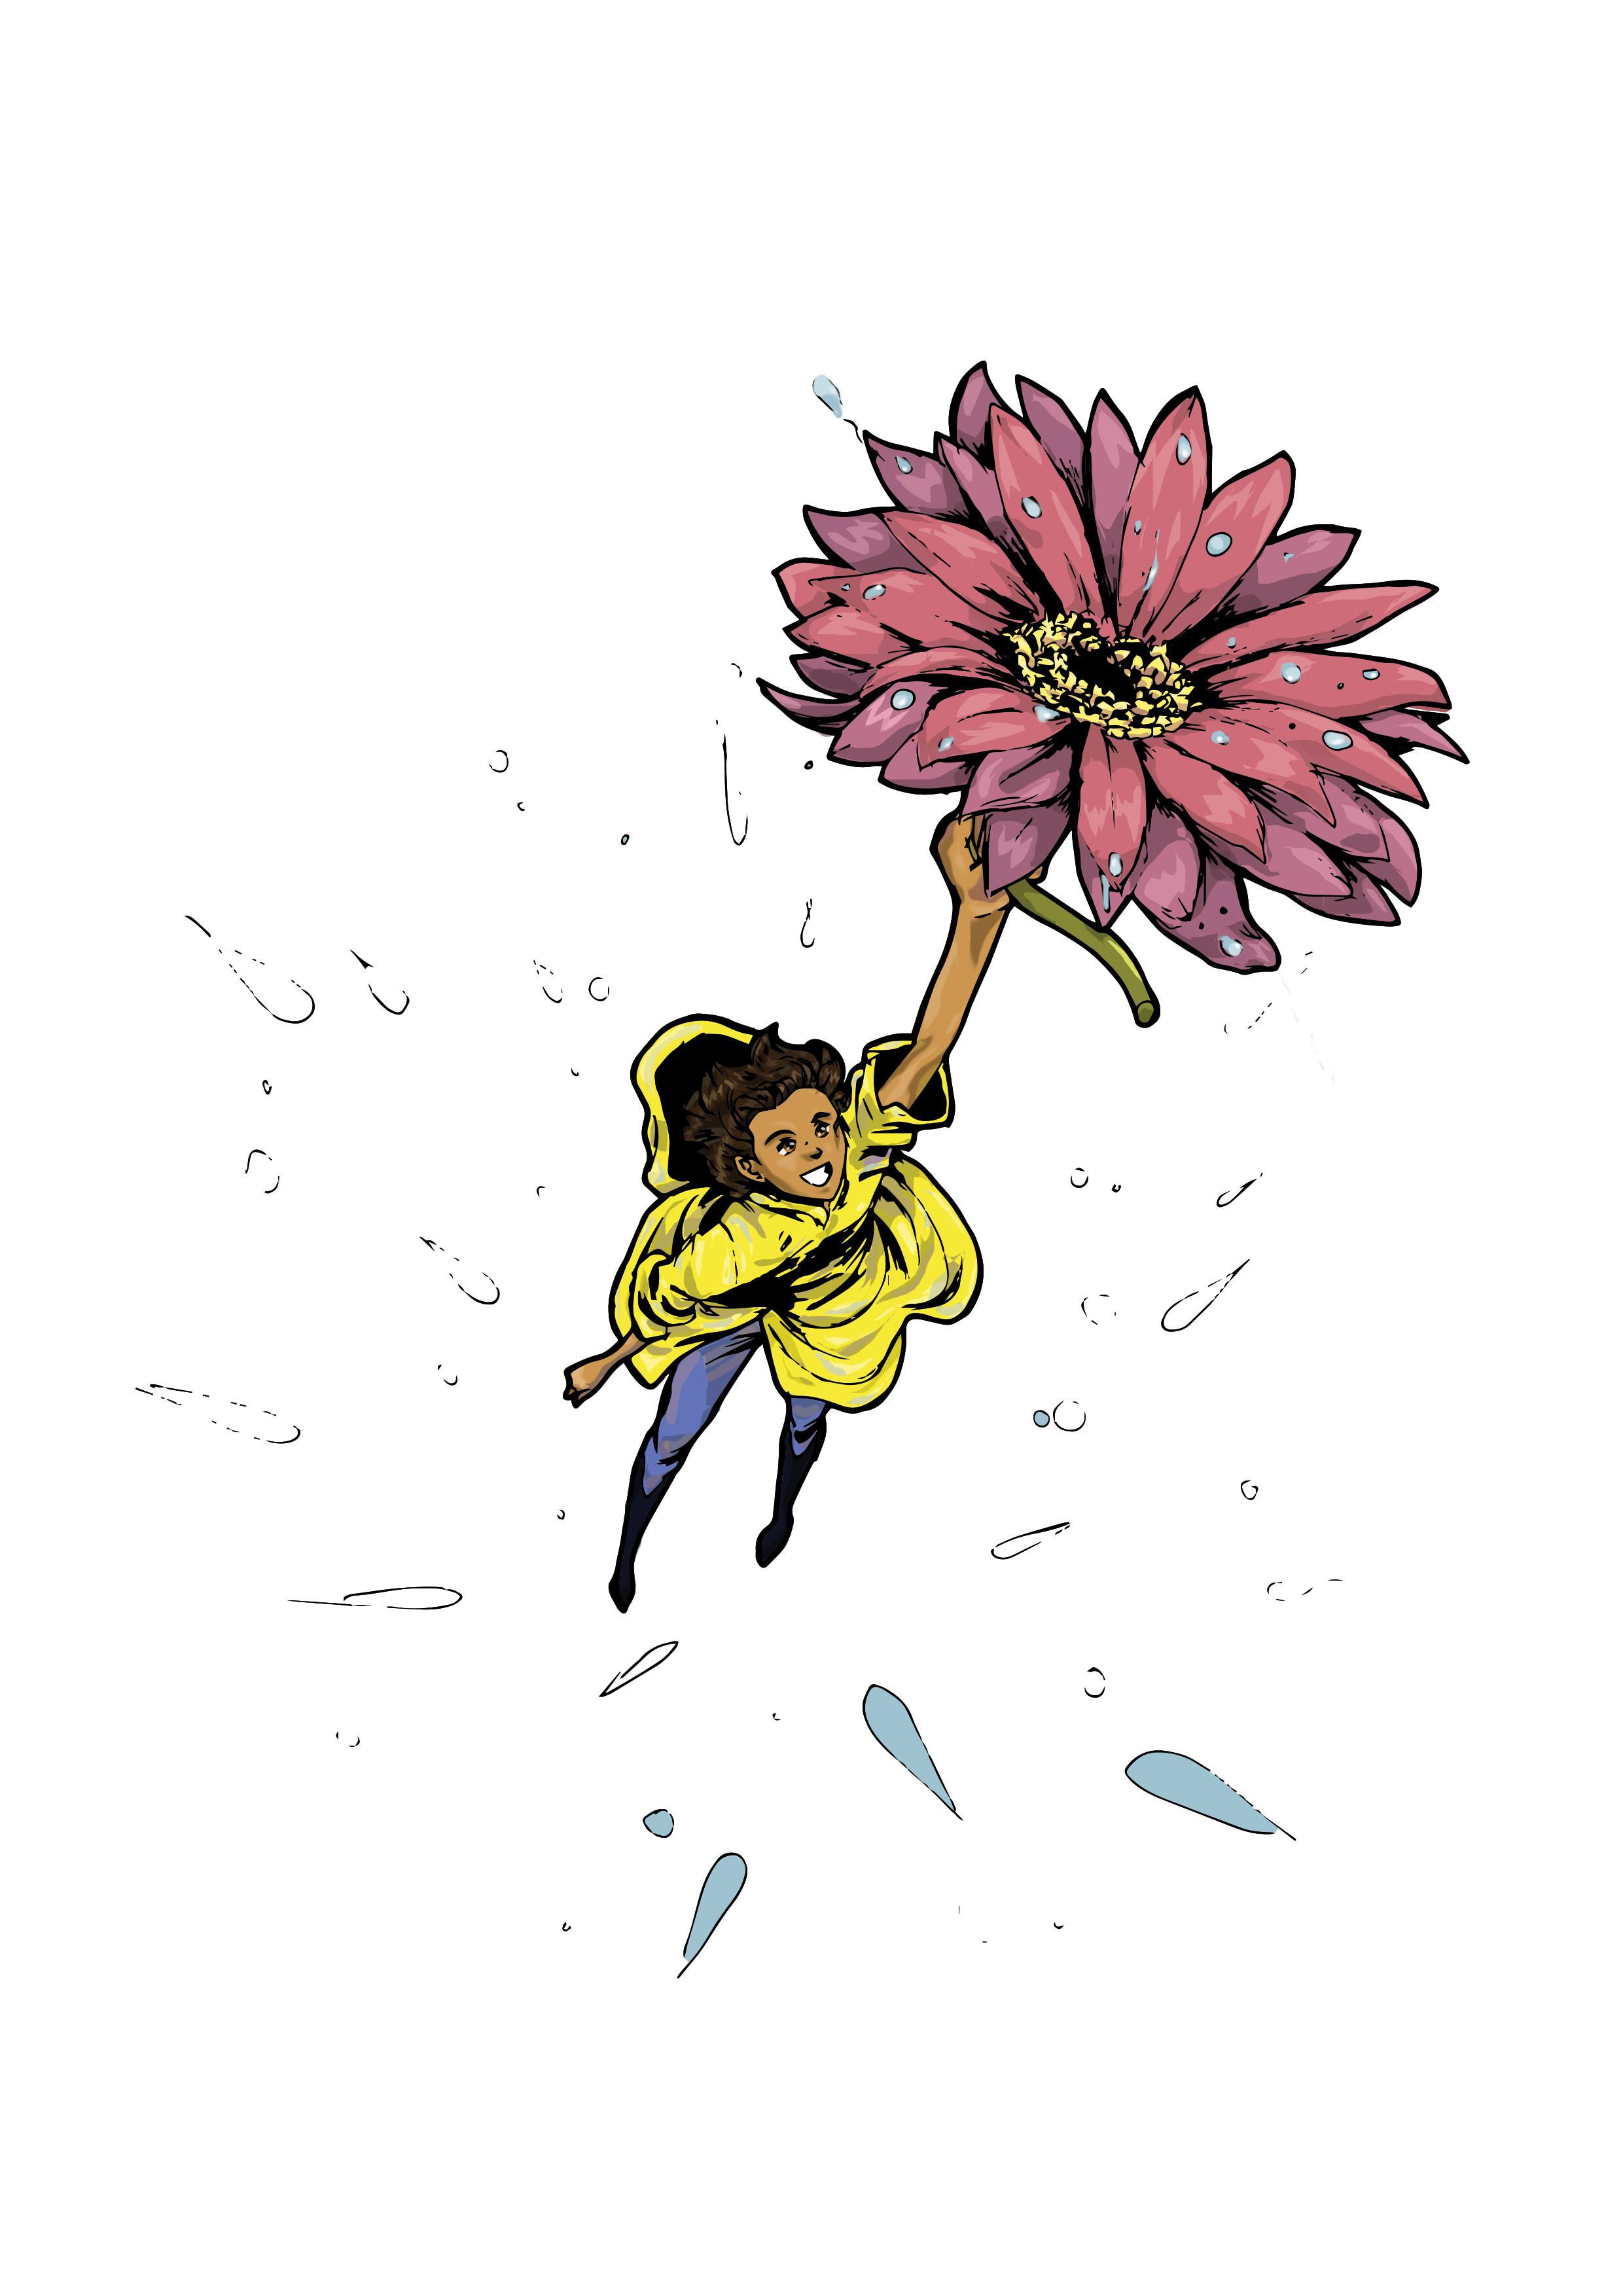
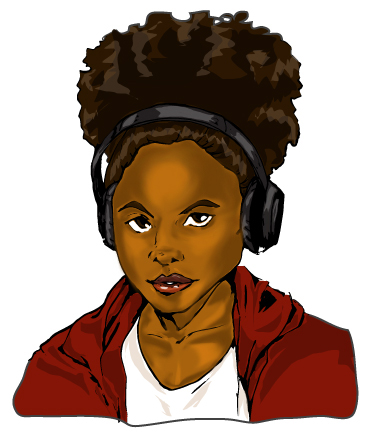
4. Coloring: If I were drawing or painting this image, I’d start with the lighter colors and work into the darker colors. I took the opposite approach and started with the dark colors and build up to the light colors.
 5. Final version: With the coloring done, I transferred this image to InDesign (since I always get the sizing wrong when I do it independently). I added a blue background, the magazine title, and lines.
 I’m still getting the hang of digital coloring, but it’s good to see that my art schooling be used more constructively.