I’m getting used to making digital art nowadays, and this next project proves it. In my past art projects, especially the last Ryukyu Star cover and my personal avatar picture, I had trouble with the coloring. There was a thin layer of white surrounding all the lines I filled in even when I made the pictures into vectors in Illustrator. I finally looked up how to color hand-drawn images from a free class on Skillshare.

I highly recommend joining this website. It has classes on art, writing, and marketing–all things artists, writers, and self-promoting bloggers need in this digital world.
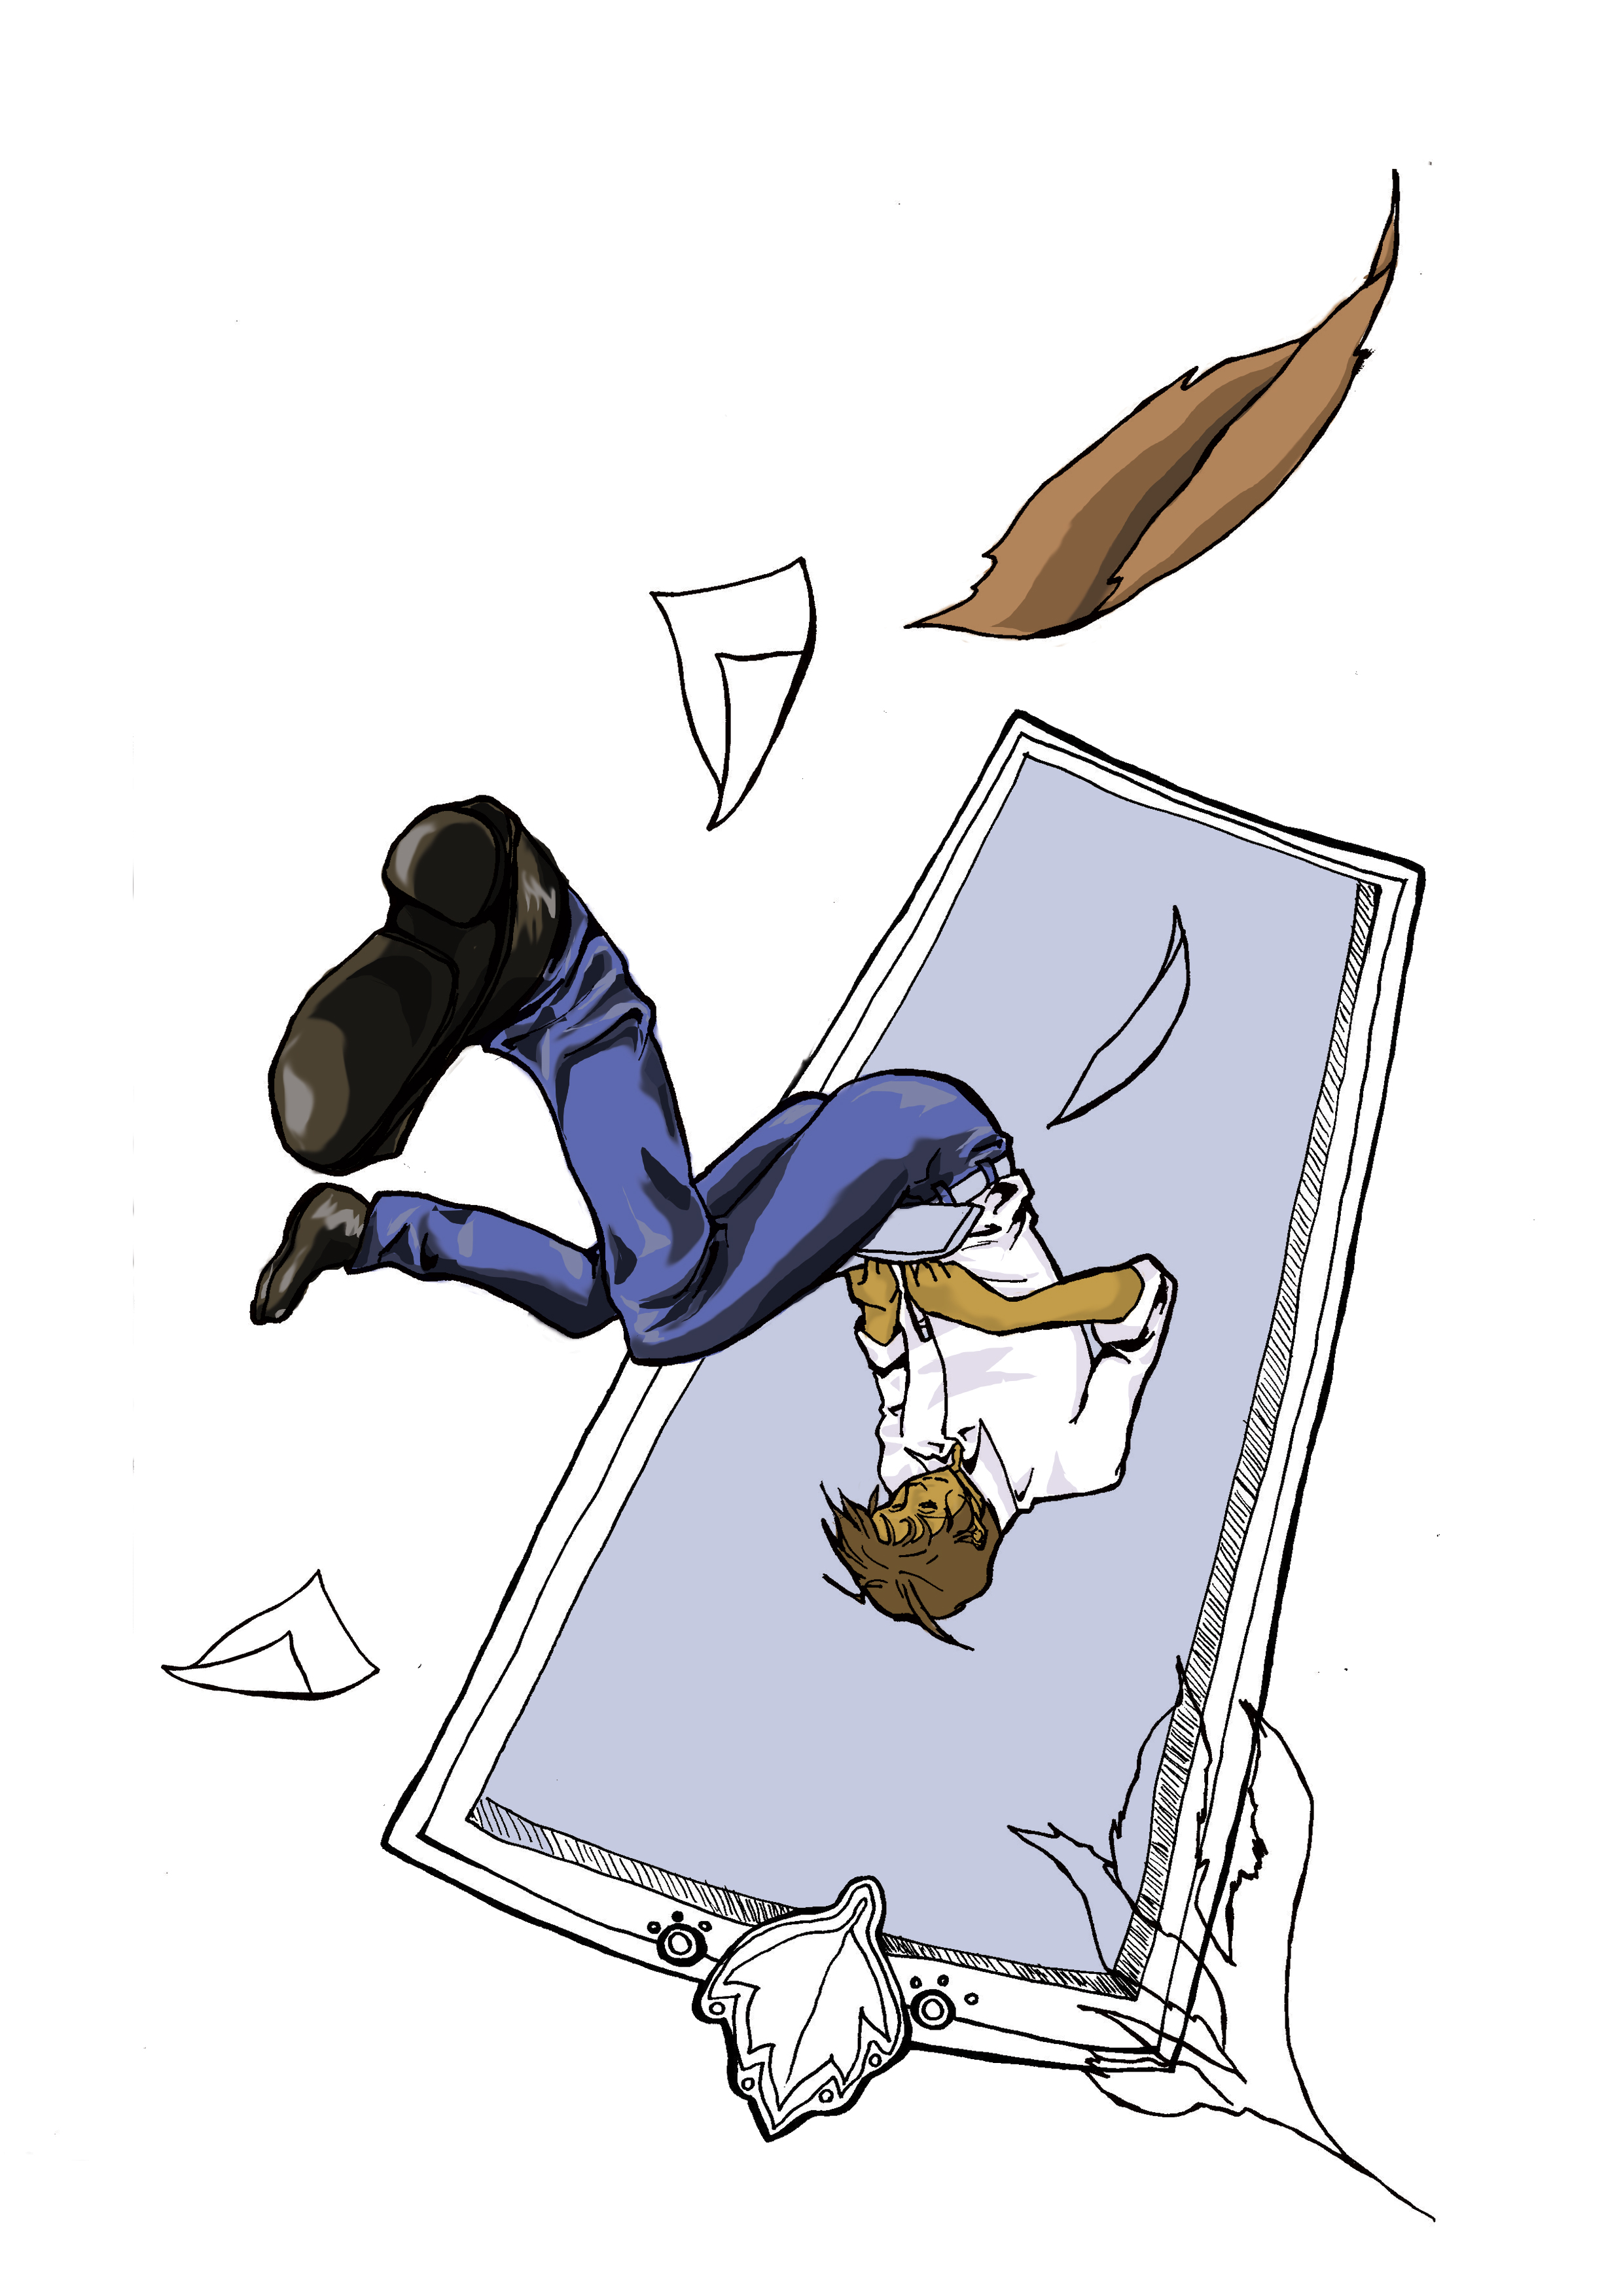
The hardest part about this project? The actual concept. I hate re-using other motifs, and if I have to, I’d rather just not do it or tackle it in a different way. I pulled out the most famous part of Alice in Wonderland–falling down the rabbit hole–and replaced Alice with a man working on something because this is the busiest time for English teachers.

I ended up changing the original concept and added a fall-to-winter doorway.
 After changing the original design, I started to paint the image in Photoshop. I learned that if I put the image’s layer in Multiply mode (it’s usually set in Normal mode), all whites in the picture would become transparent. This solved my white line problem and made my life a lot easier.
I did almost lose the colored picture. I was happy to play with lots of colors and gradients to get the final image below.